Pushing the limits of what a groove can be through syncopation Part 2
Welcome back!
Welcome to my blog where I will be exploring the art of drum set notation using notation software, specifically Musescore 4. This is an 8 week project, where I have been delving into the vast potential of drum set music, from learning to write basic rock measure grooves to maybe not so basic rock grooves, and eventually different styles. In my journey so far, I’ve learned to write basic rock measure grooves using a grid system for writing, which last week I opened the floodgates of complexity due to the syncopation within the bass drum. This week I plan to push even further by applying the concept from last week and using it to create even more complexities by introducing more notes to interact with, mainly focusing on the snare drum. Join me as I continue to explore the exciting world of drum set notation!
Transforming the groove even more
Last week was all about pushing the limits of basic rock beats by adding complex syncopated grooves with the bass drum. This week, I’m ready to take things even further by exploring how different placements of notes within the basic rock beat can create an endless stream of ideas as per usual. But, instead of focusing on the bass drum this time, we’re going to dive into the potential of another instrument to make these ideas come to life.
First real tough roadblock with notation software
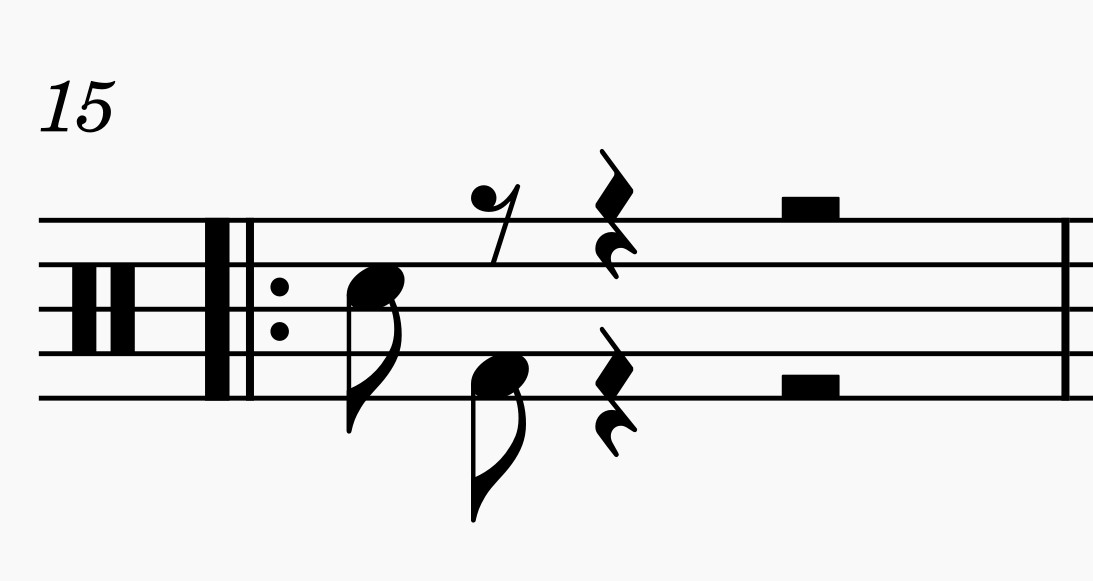
Last week’s challenge of expanding the rock beat with the bass drum was a success, but this week’s challenge of doing the same with the snare drum has proven to be a tough nut to crack. The notation software is not always user-friendly, and editing the properties of the notes themselves can be cumbersome. I’ve been experimenting with changing the stem direction to downward for the snare drum, just like the bass drum, but getting it to look clean has been a real challenge. I thought this week’s progression would be simple, but it looks like I have my work cut out for me. Regardless, I’m excited to push through and see where this leads me.


Reminder of what we’re trying to achieve based off of last week
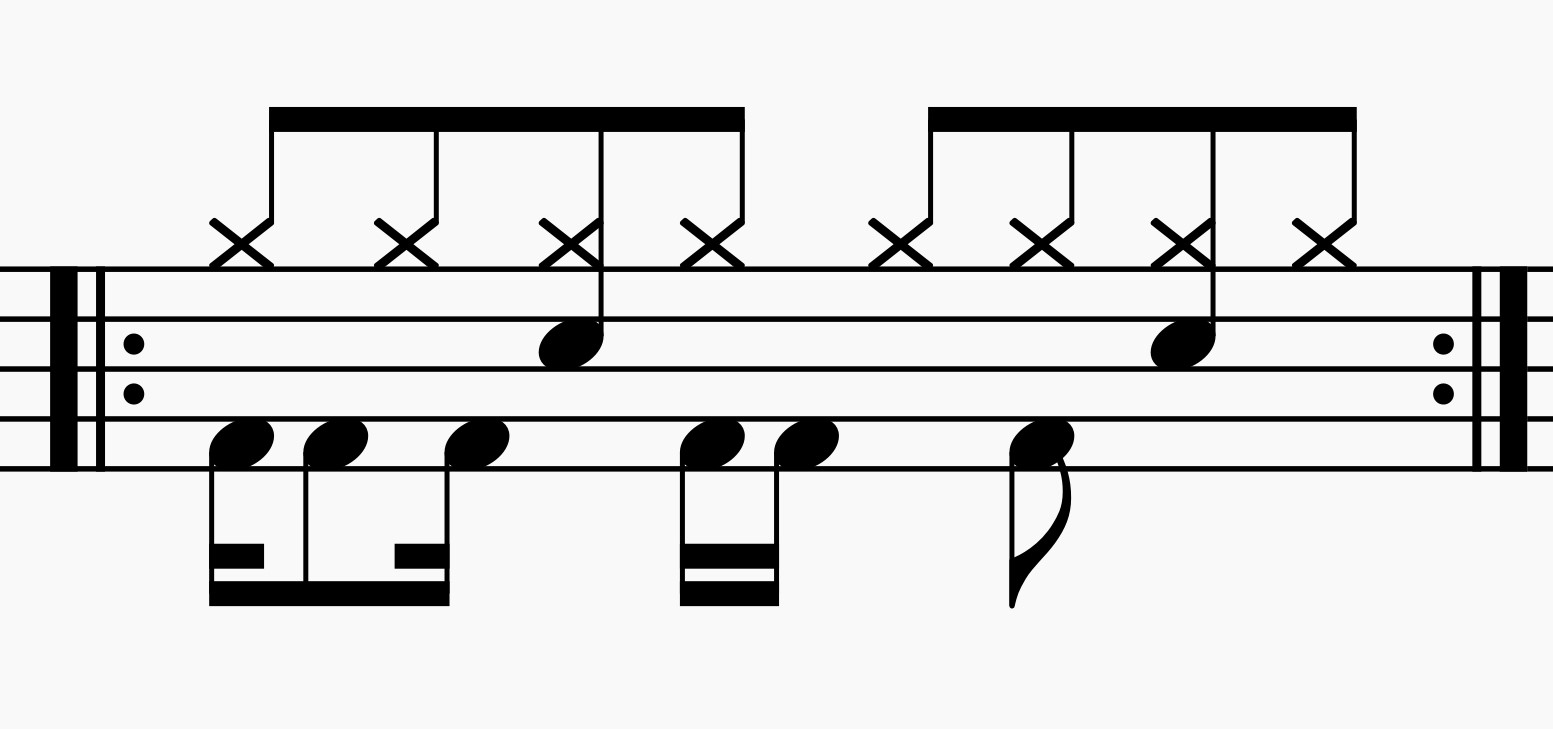
Last week’s progress in creating these measures has shown that splitting the grid with the bass drum can be achieved quite cleanly. I’ve realized that what’s most likely allowing this to happen is the fact that the stem directions are separate from the top, which is not the case with the snare drum and hi-hat. Throughout the past few weeks of learning about writing these measures, I’ve found it frustrating that the snare drum and hi-hat always seem to be together. Now, this issue is becoming even more pressing since it’s directly interfering with writing more passages like these ones. The goal is to get the snare drum to go off the grid just like the bass drum, and I’m currently working on figuring out how to do that.
Getting somewhere
After what felt like an eternity of tinkering with different settings and options, I finally figured out how to get the bass drum and snare drum to be on the same stem going downward while still being separate. There were a few side effects, including rest notation going way above the measure, but I’m confident that I’ll be able to clean it up once the measure is more complete. This was a real test of patience, and it felt like I was hitting my head against a brick wall for a while there, but I’m happy to report that progress has been made! Sometimes it takes a little extra effort to get the results you want, but it’s always worth it in the end.


The more complicated the beat, the more editing needs to happen
After spending some time trying to figure out how to offset the snare drum from the hi-hat, I was finally able to achieve the result I wanted. At first glance, the two measures may look completely different, but they are actually the same basic rock beat. The one on the left is cluttered and confusing, while the one on the right is clean and simple. Adding a simple snare hit on the “uh” of beat 2 proved to be a challenge, especially when compared to the ease of adding it to the bass drum.

After countless hours of researching and experimenting, I finally figured out how to create syncopated grooves that I’ve been building upon for weeks. While it does take a lot of editing for just one measure, it’s incredibly rewarding to see it come together in the end. The measure may look simple enough, but it took a lot of effort to get it to look clean and work properly within the notation software. This milestone feels amazing, and I can’t wait to continue exploring more complex grooves and beats in the future.
The idea is there, just push through!
This week’s work has definitely been the toughest challenge in this project so far. It required a lot of research and digging into Musescore discussion forums to figure out how to make it work. But sticking with it and seeing the results finally come to fruition is incredibly rewarding. If there’s one overall theme that stands out in this project, it’s the importance of perseverance, even through the most frustrating times. The growth and progress that can come from pushing through these challenges is truly meaningful.
Conclusion/Preview!
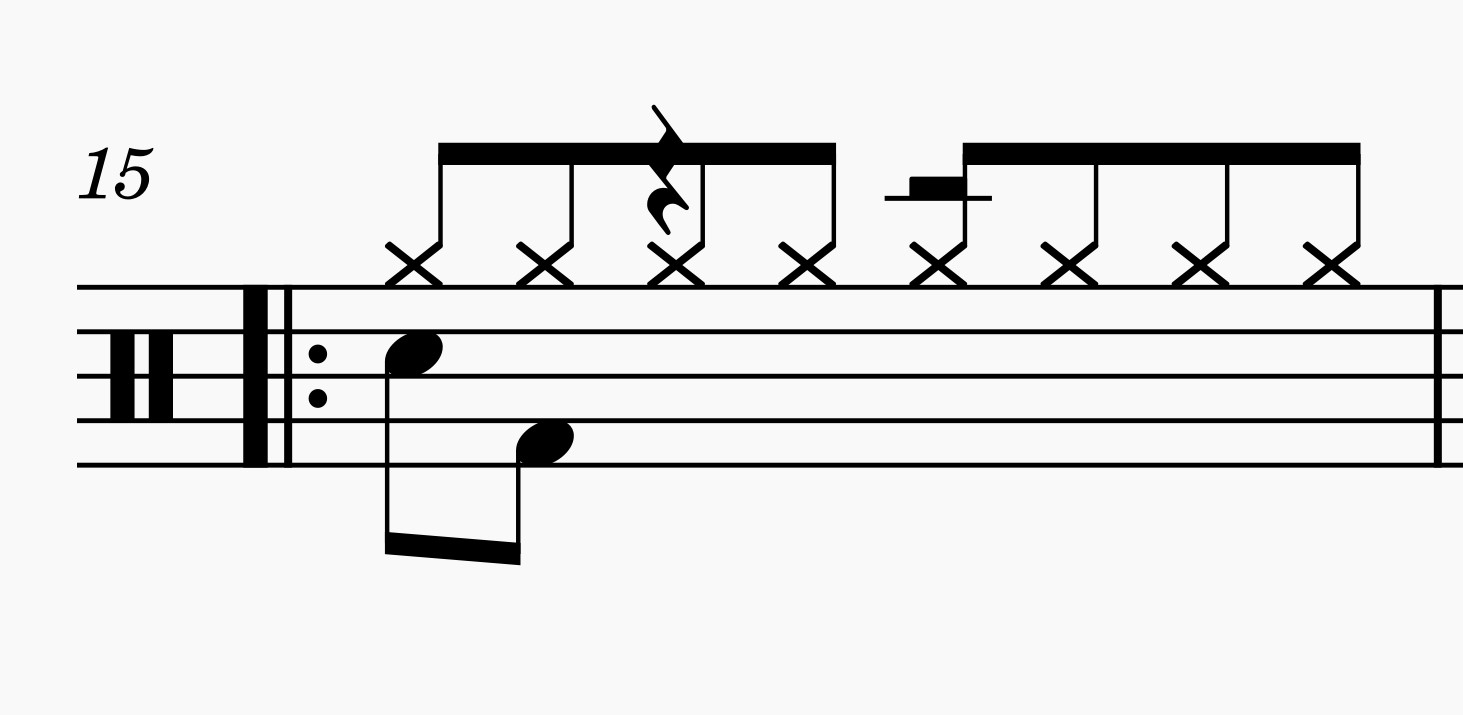
This week I was determined to figure out how to syncopate the snare drum, and after a lot of trial and error, I finally managed to do it. It turns out that the solution lay in adjusting the “voices” settings in Musescore, so that the snare drum was separate from the hi-hat. This breakthrough was a big deal, because it means that the snare drum can now be placed anywhere on the grid, just like the bass drum. While I didn’t show a lot of variety in syncopation last week, I know that there are endless possibilities to explore. This week, I plan to focus on bigger picture ideas and also start working on incorporating swing style into my notation.